Apple Home setup
Guide to blink the LEDs via Apple Home#
Please don’t forget to remove the device after you finish the setup and playing with the LED! Pretty please :)
Step-by-step guide#
-
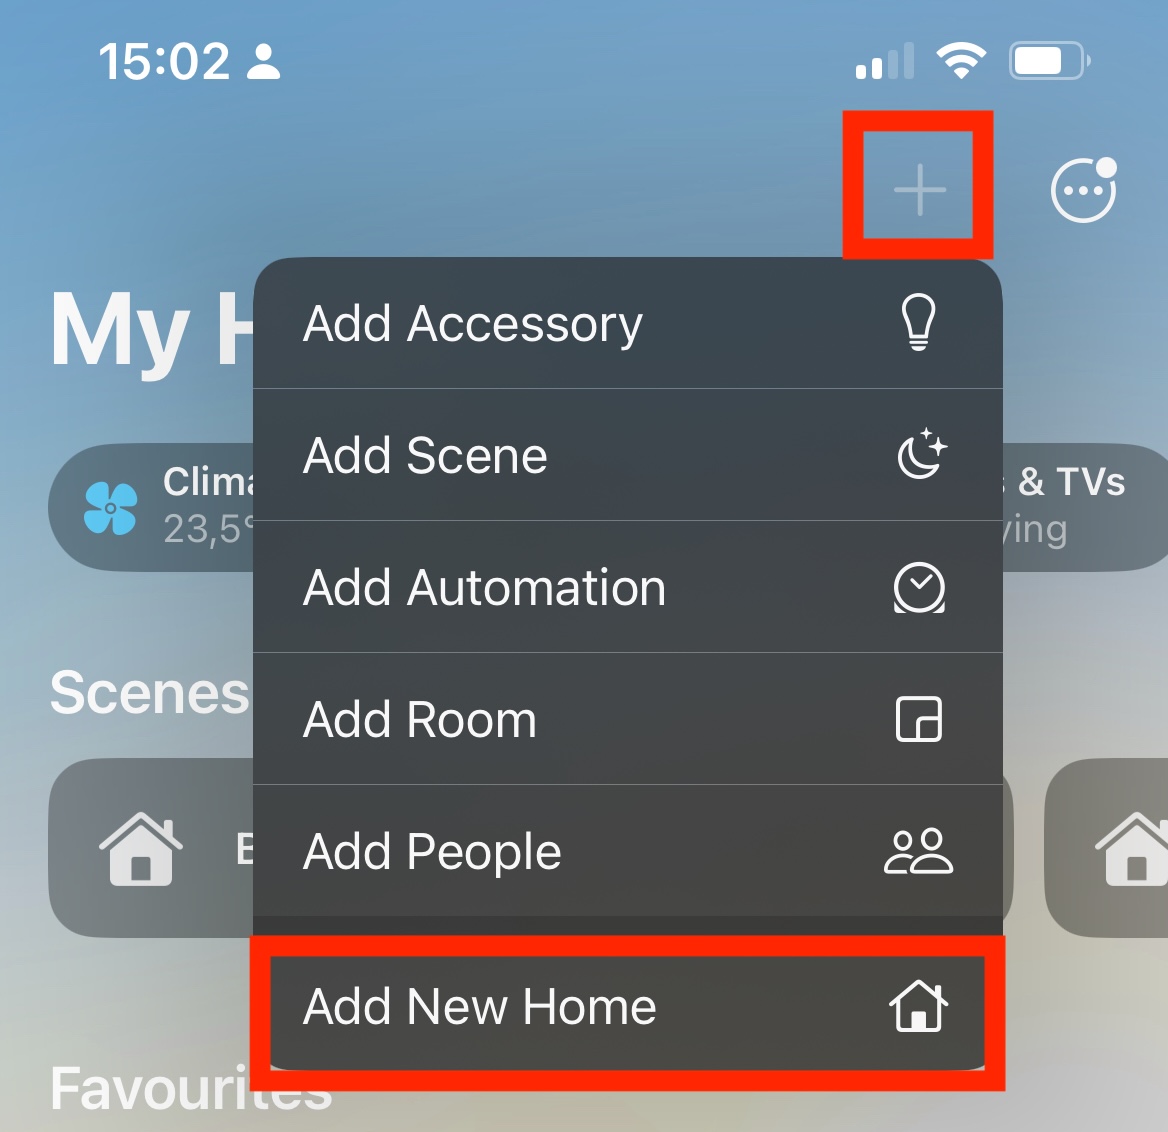
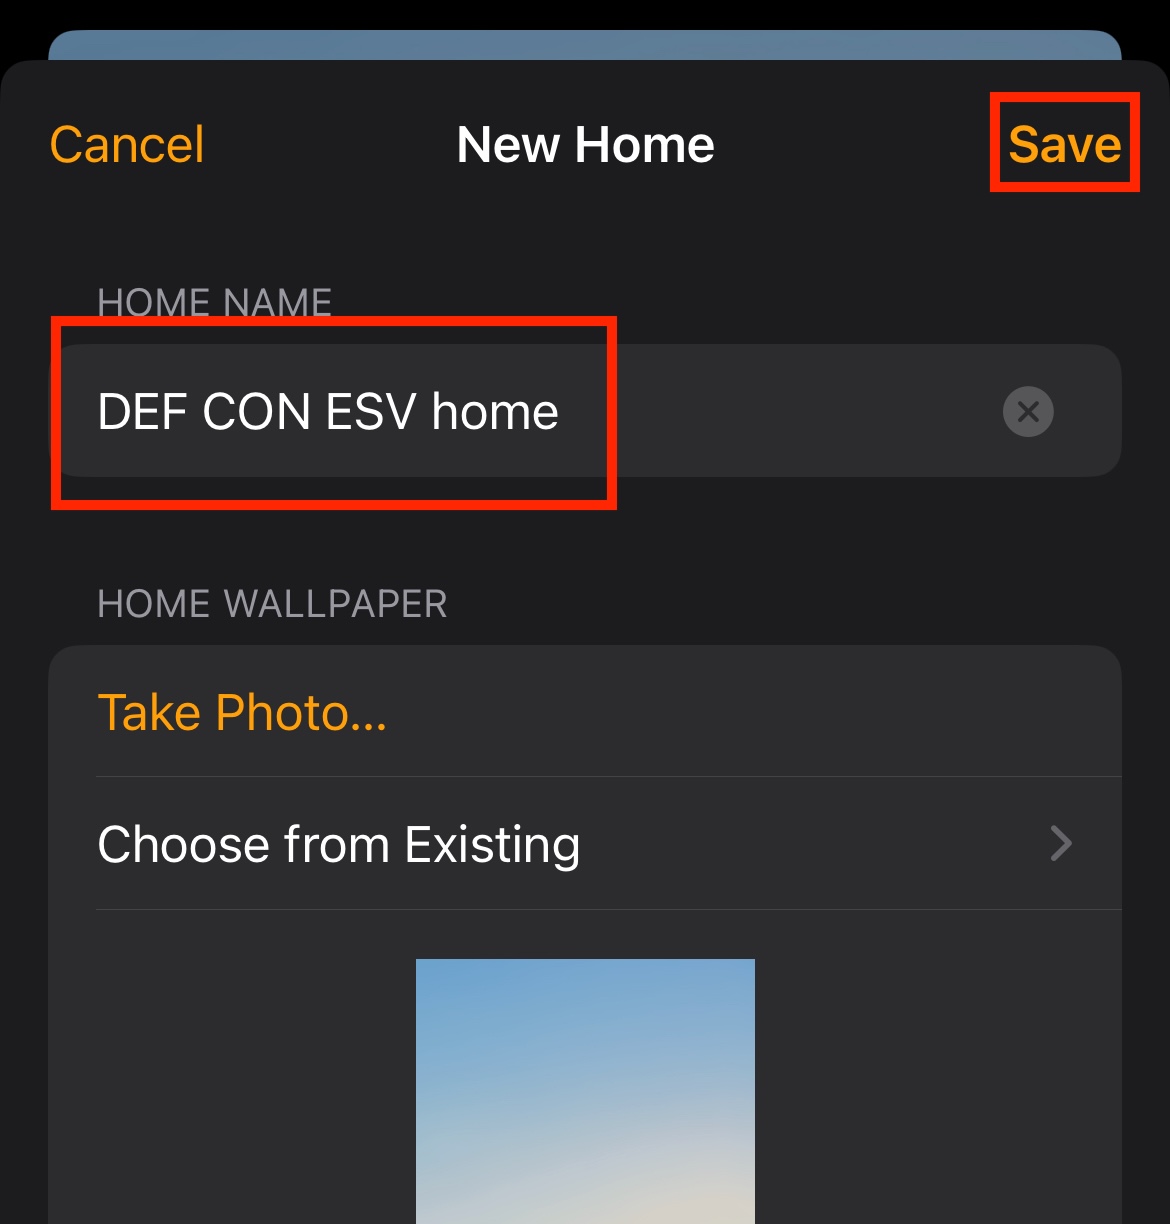
In case you have >= iOS 18, open the Apple Home app on your iOS device. Create a new home. The name of the new home does not matter.
-
In case you are not yet connected, connect to my Wi-Fi network - scan the Wi-Fi QR code, or use SSID: Matter_Raspi_LED, password: CUJO.AI!
-
Pick a station number currently not used by anyone else. Touch the chosen station number on the touchscreen.
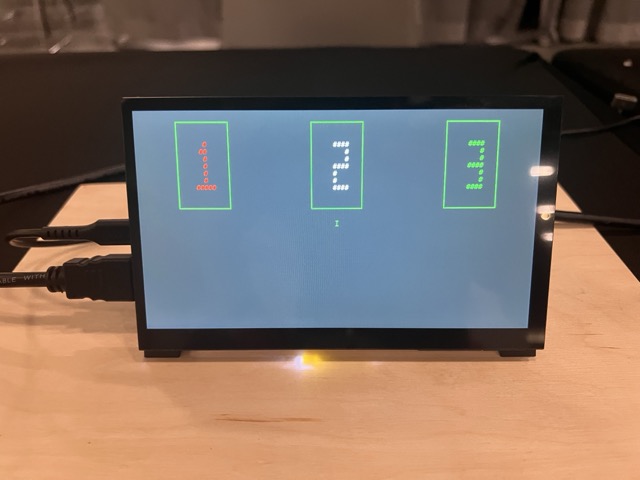 This will put the Matter device into factory reset/commissioning mode.
 -
Scan the Matter QR code with the matching station number from your Apple device using the Camera app. Click on the action below the QR code.
-
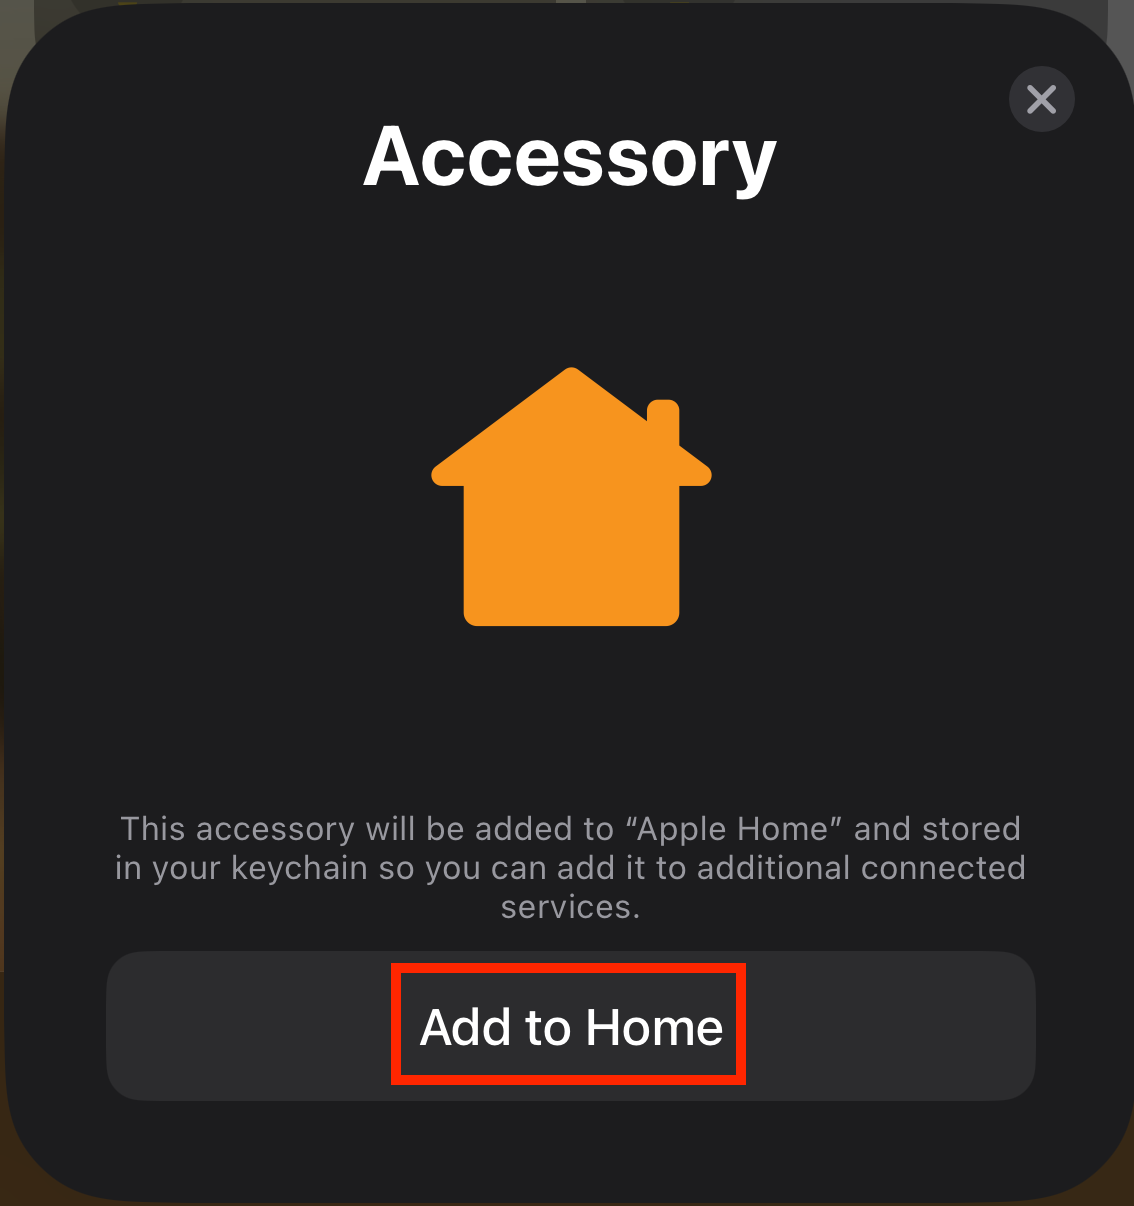
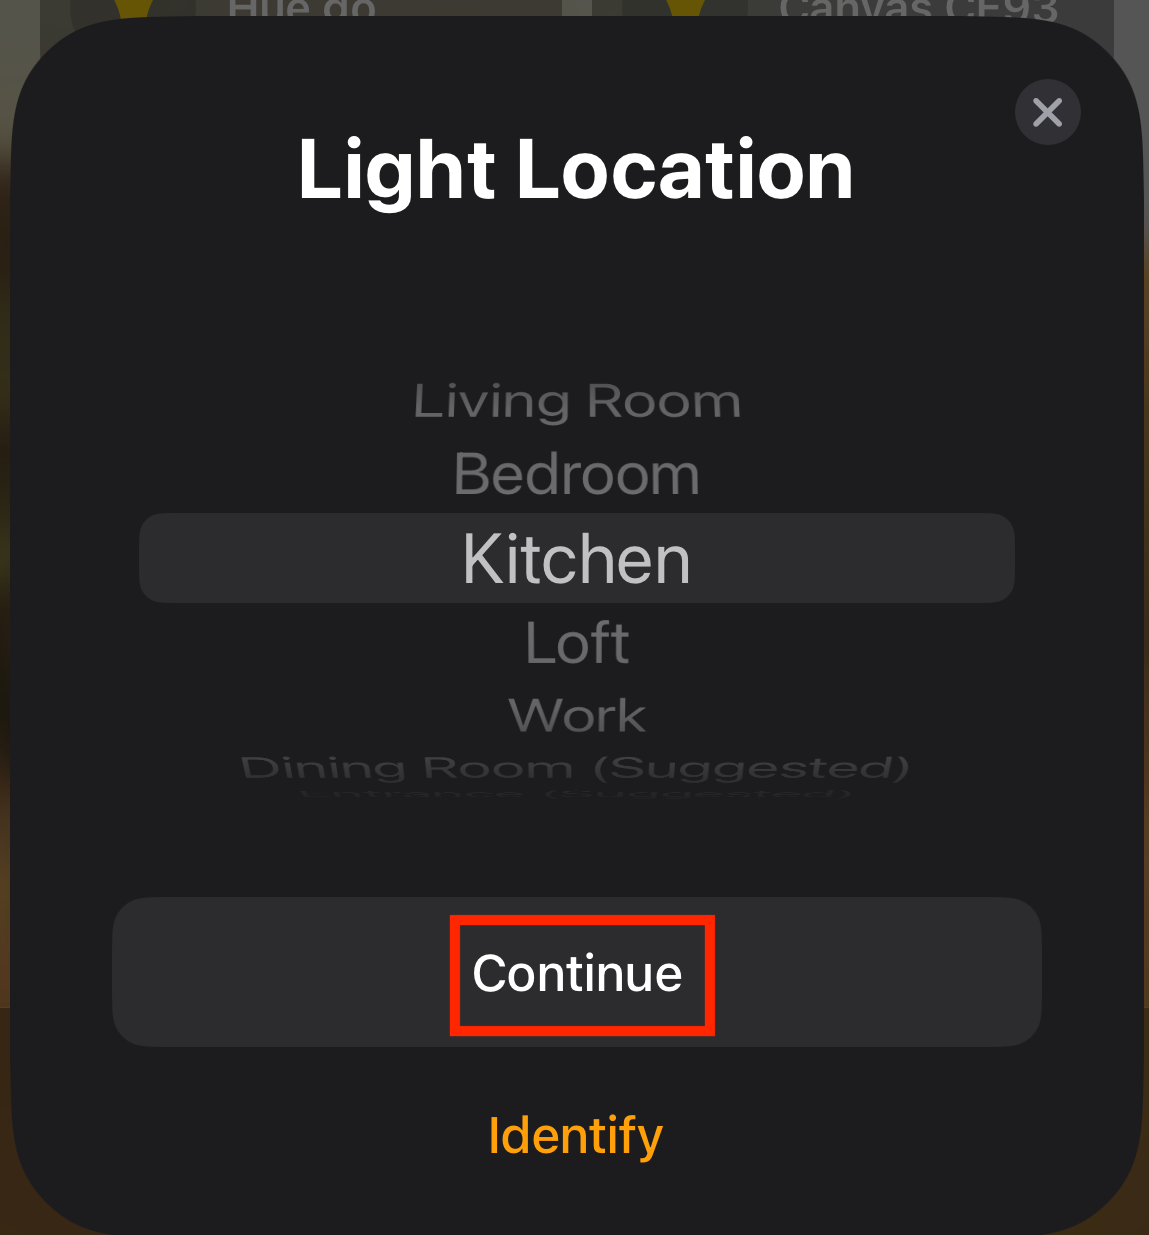
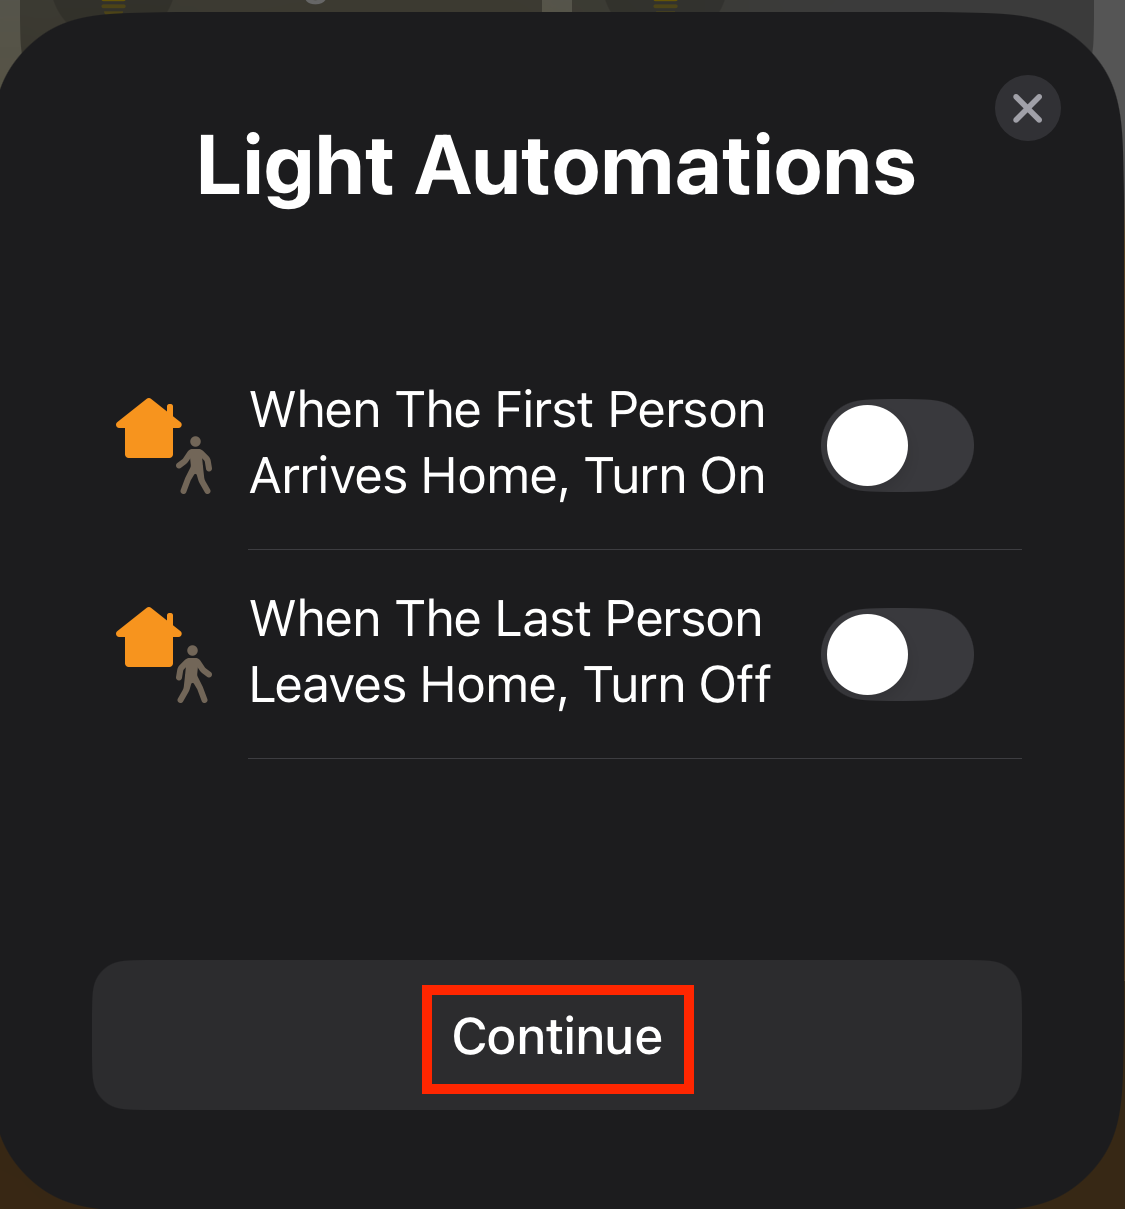
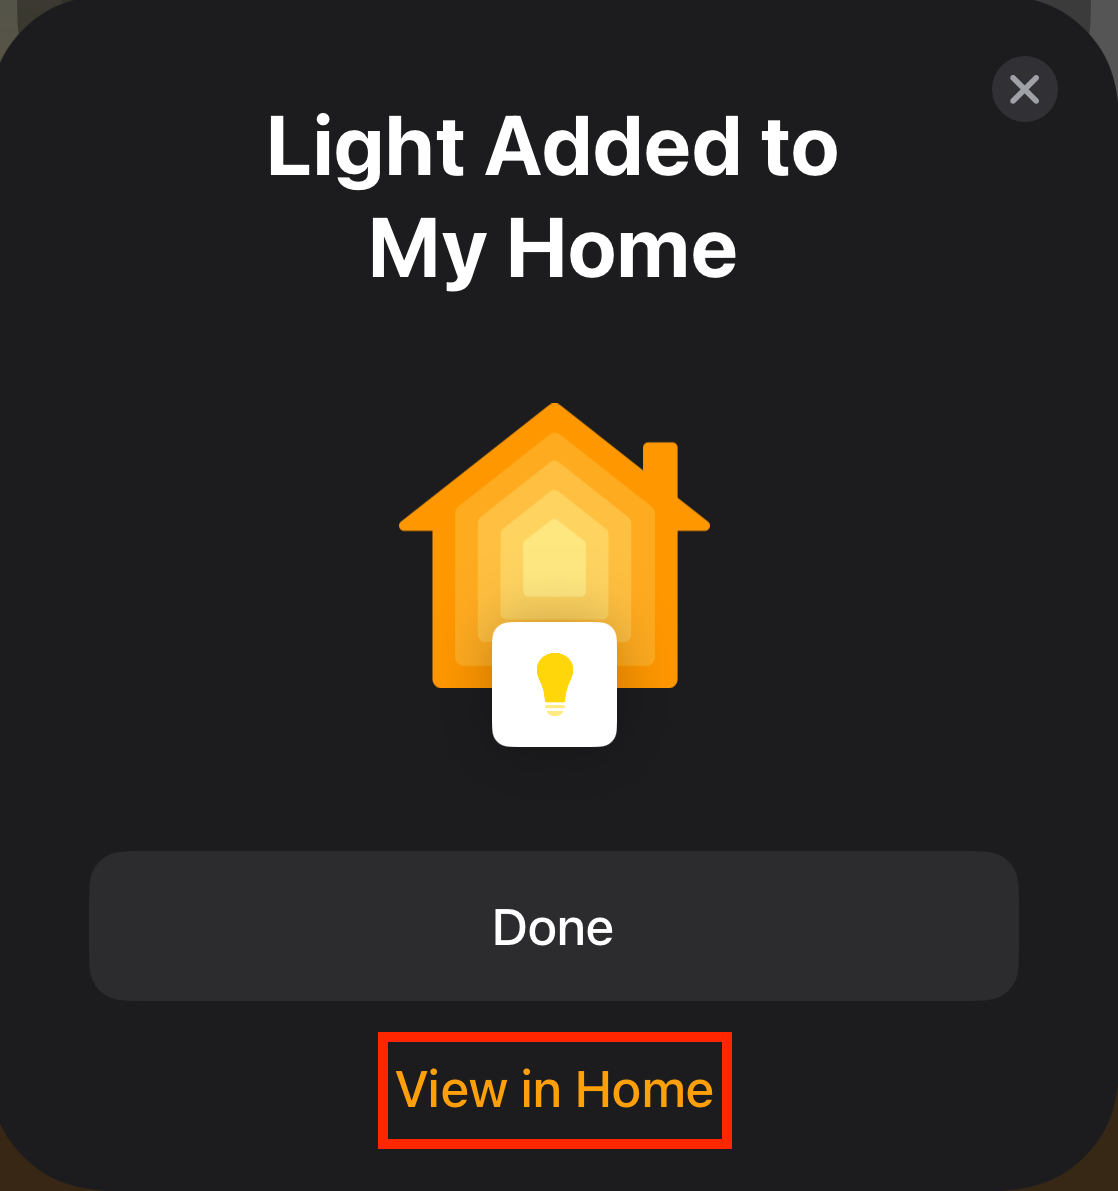
Use your Apple Home app to start the device pairing process, following the screenshots. Defaults are fine, but you can be creative if you want.
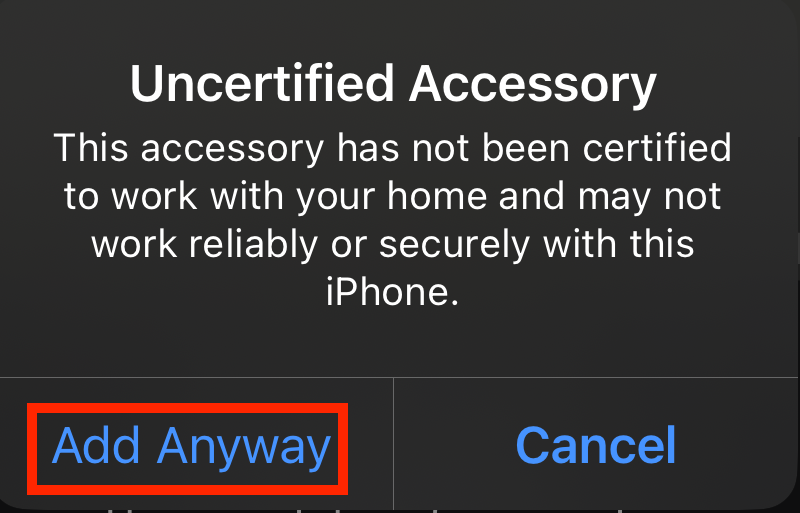 The LEDs are “uncertified” because this is a test/development device, not a commercially available one. Using this test/development environment does not pose security risks to your mobile device.
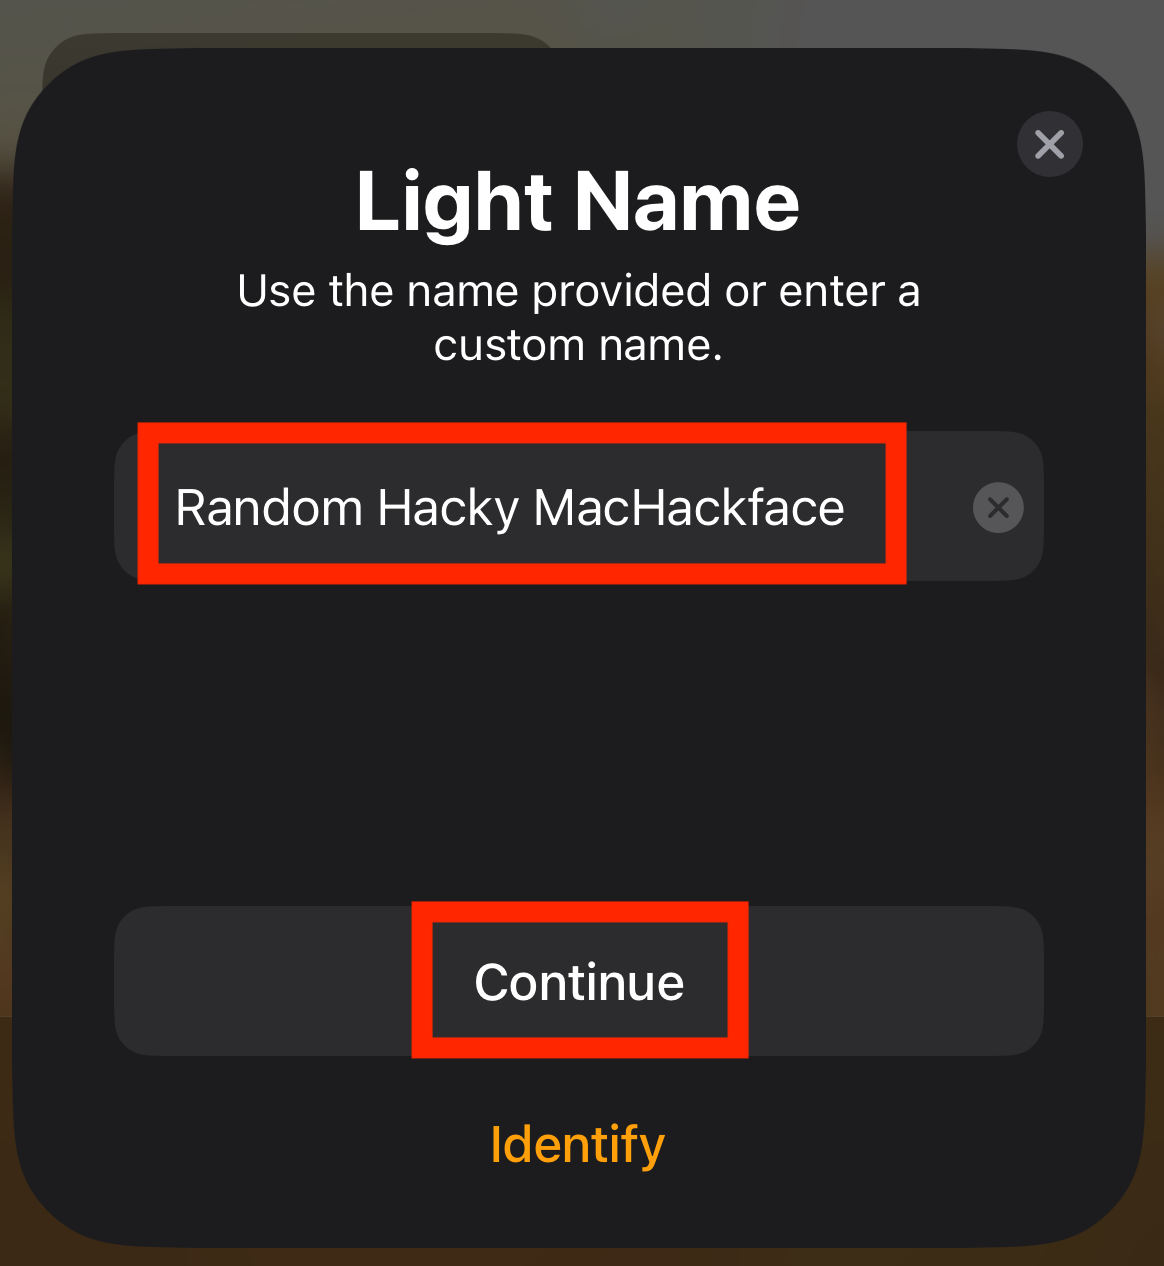
 You can name the device anything you want, just please, be mindful and stay compliant with the DEF CON code of conduct.
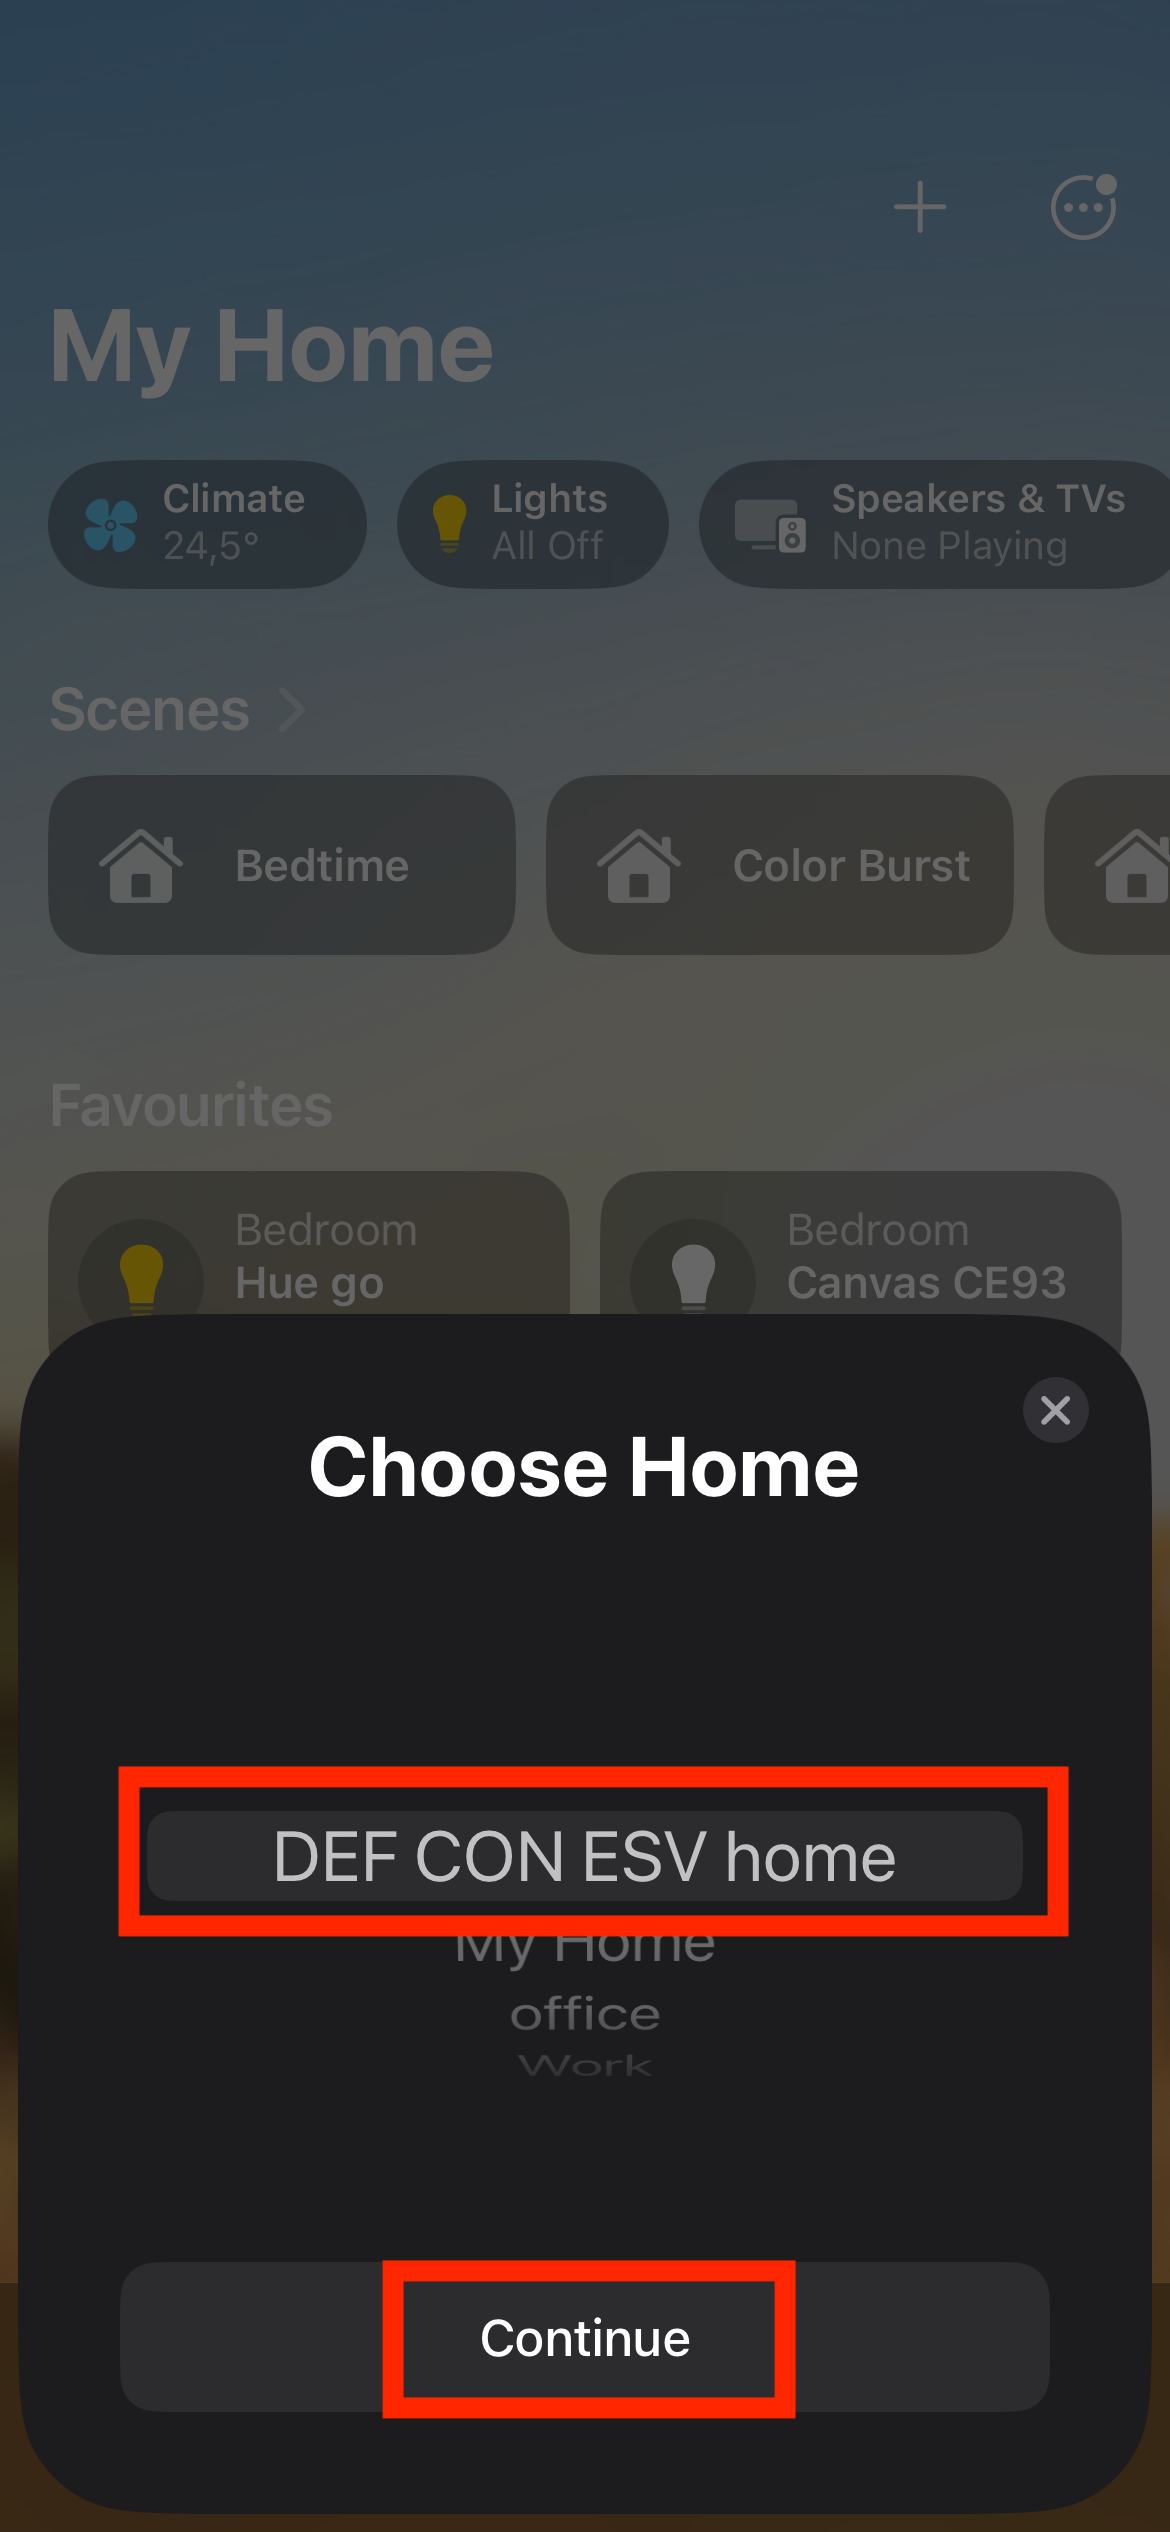
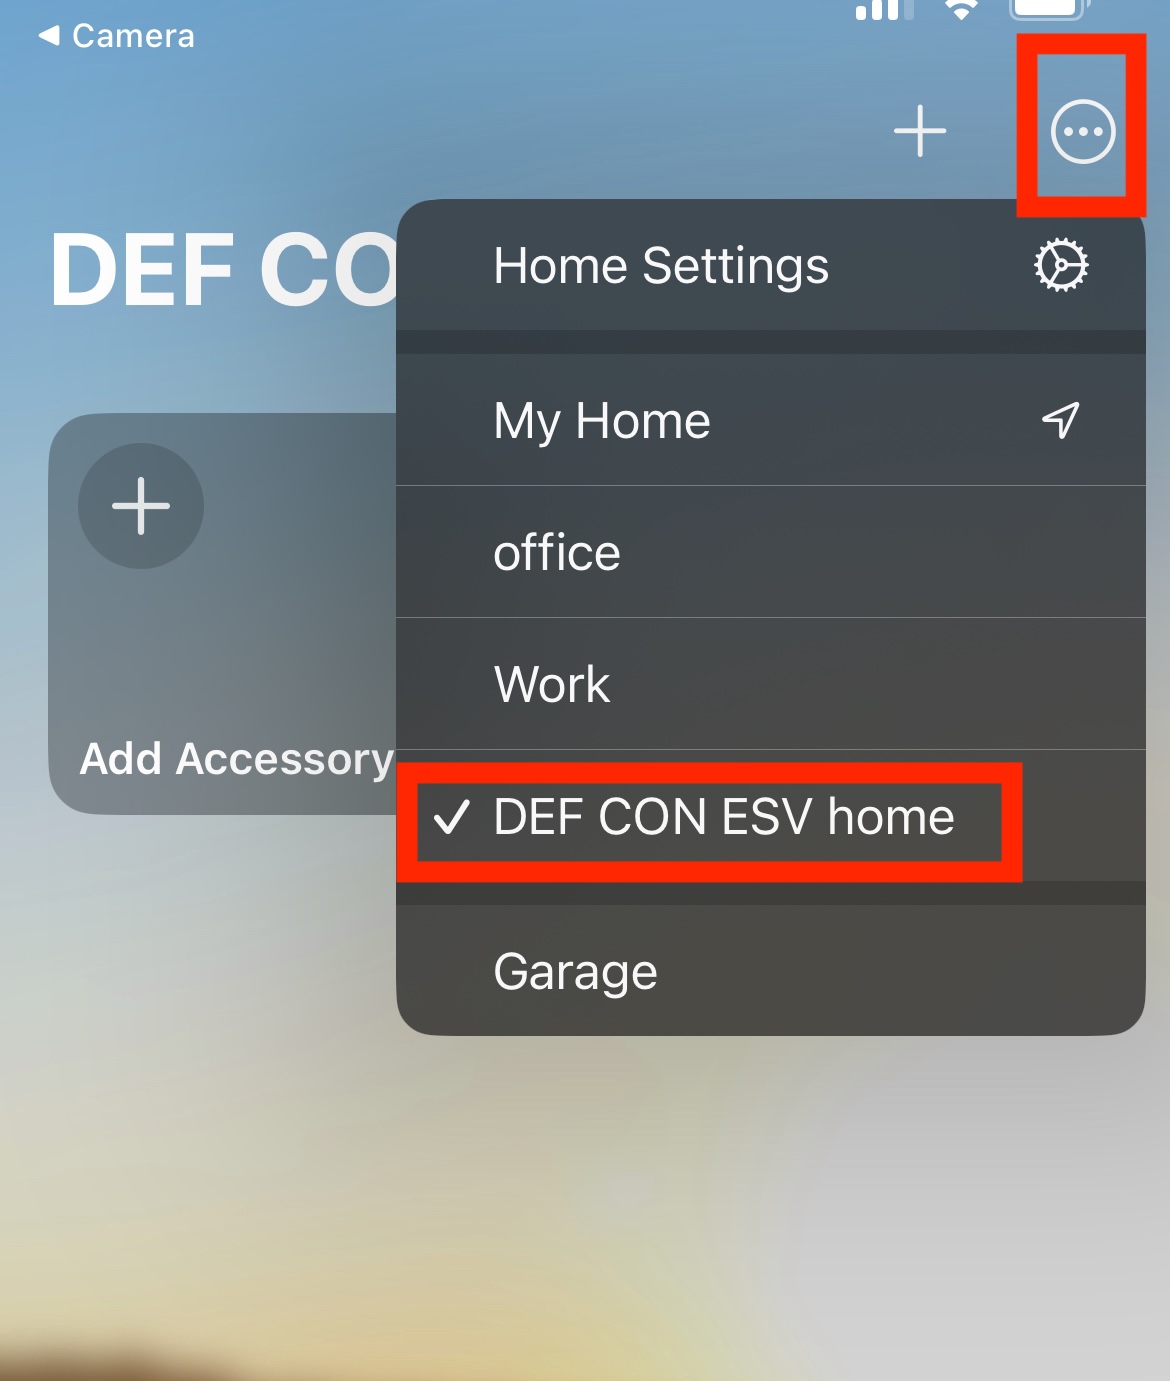
If you can’t see the newly added device, try changing to the correct home in the Home app.
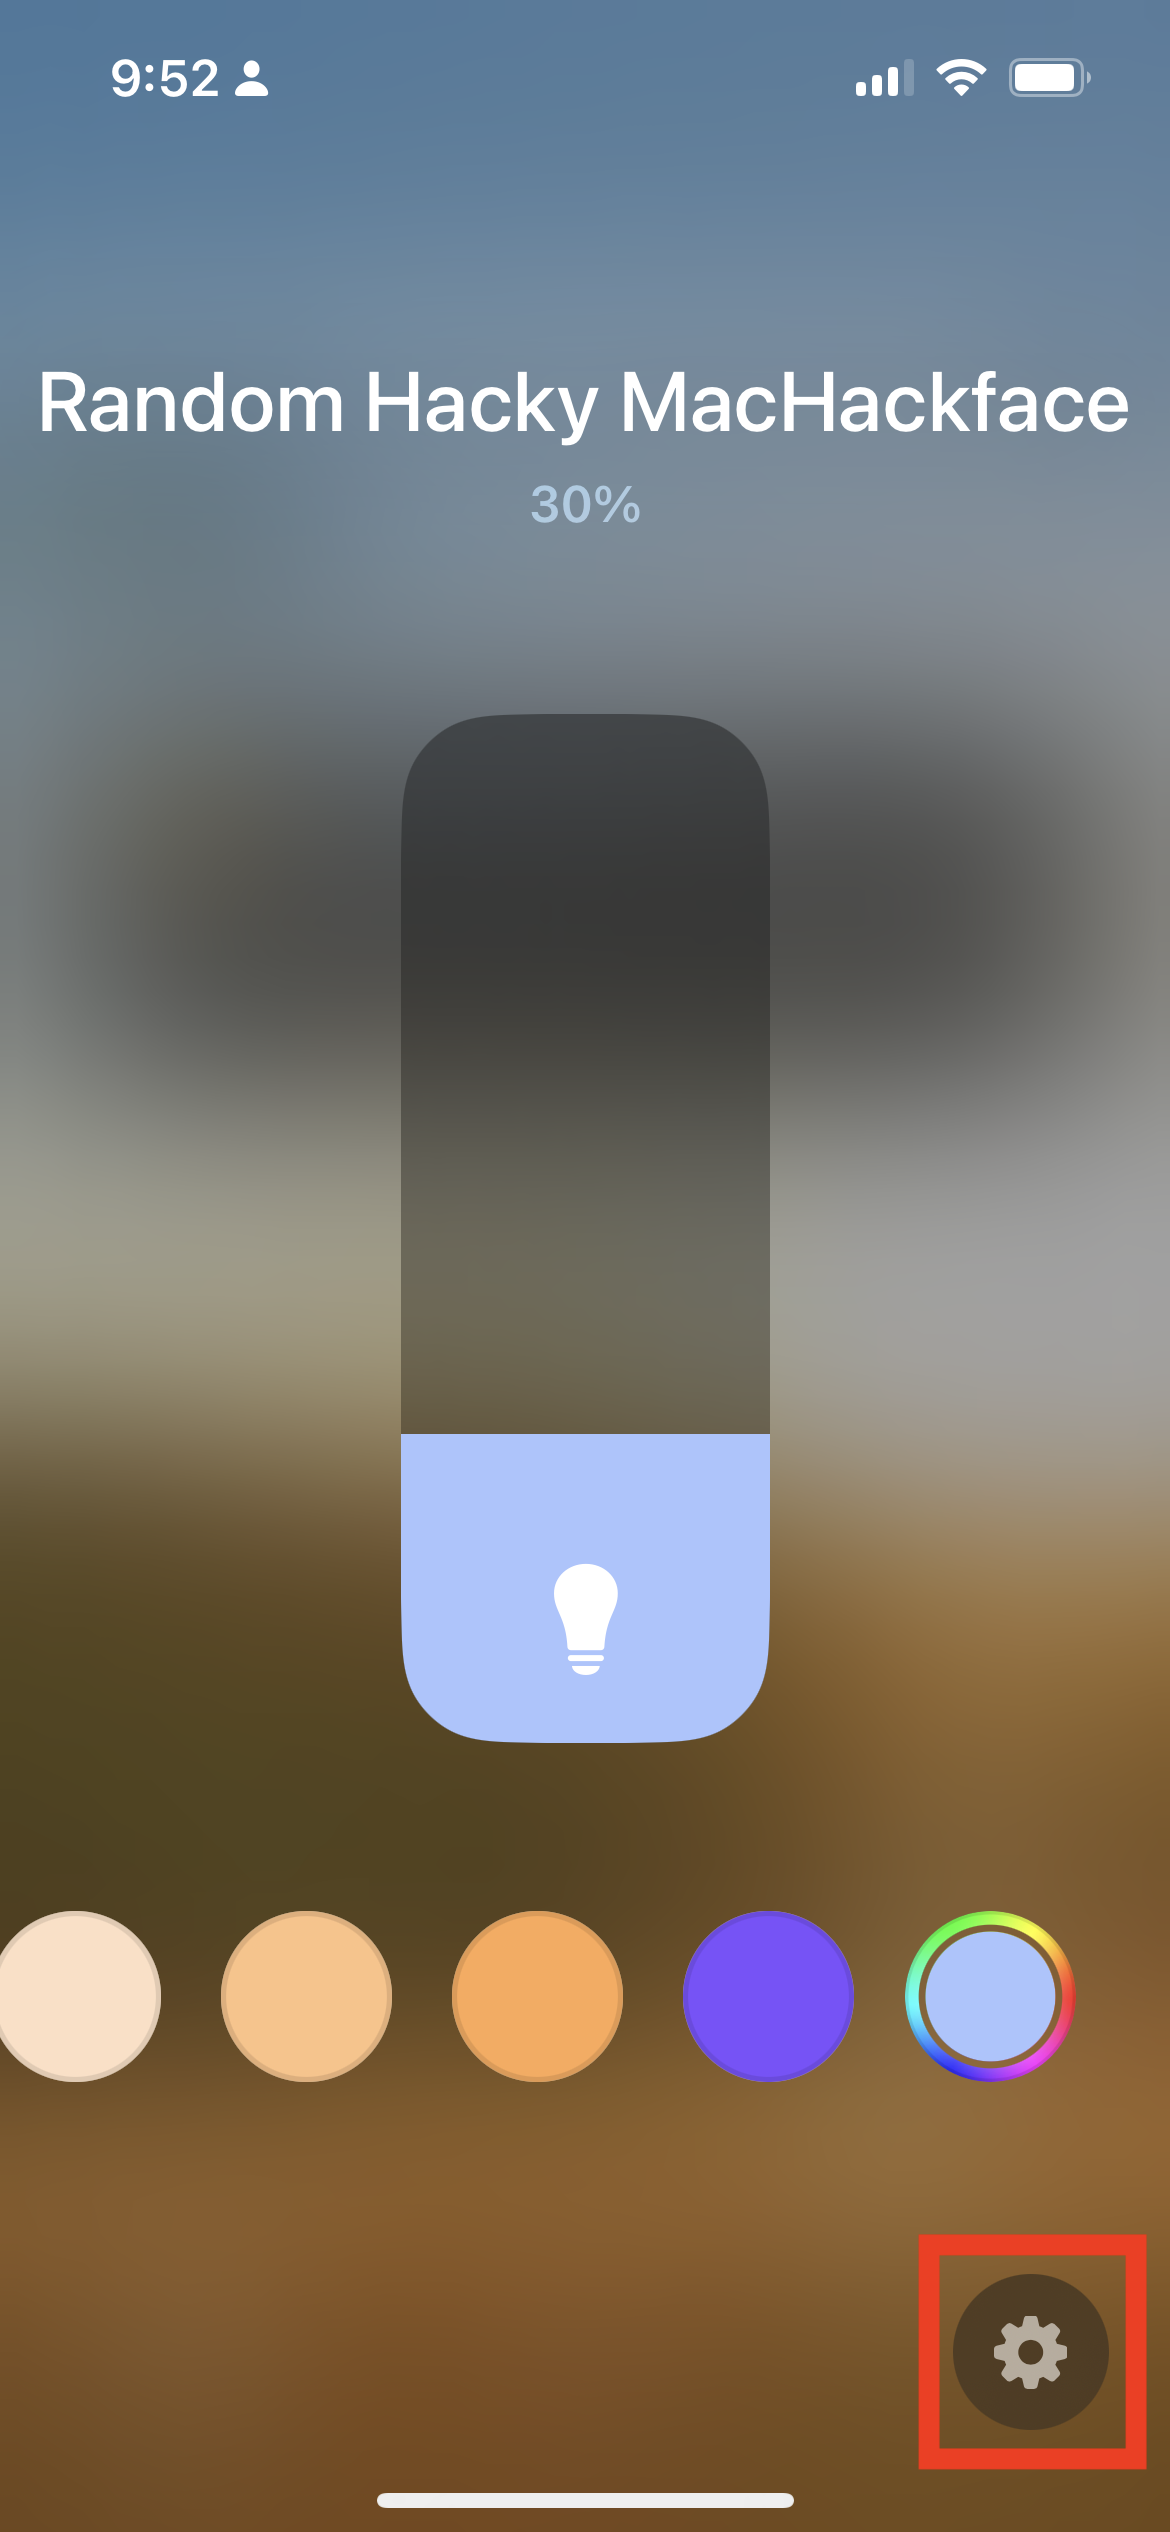
- Now you can control the Raspi LED from your Apple device! How cool is that? And what is even cooler? You can control the same device from another ecosystem as well - in this case, Home Assistant, Ubuntu, or Google! Bonus points for controlling the device from Siri! :) “Hey Siri, turn on Matter accessory!”
Before you leave …#
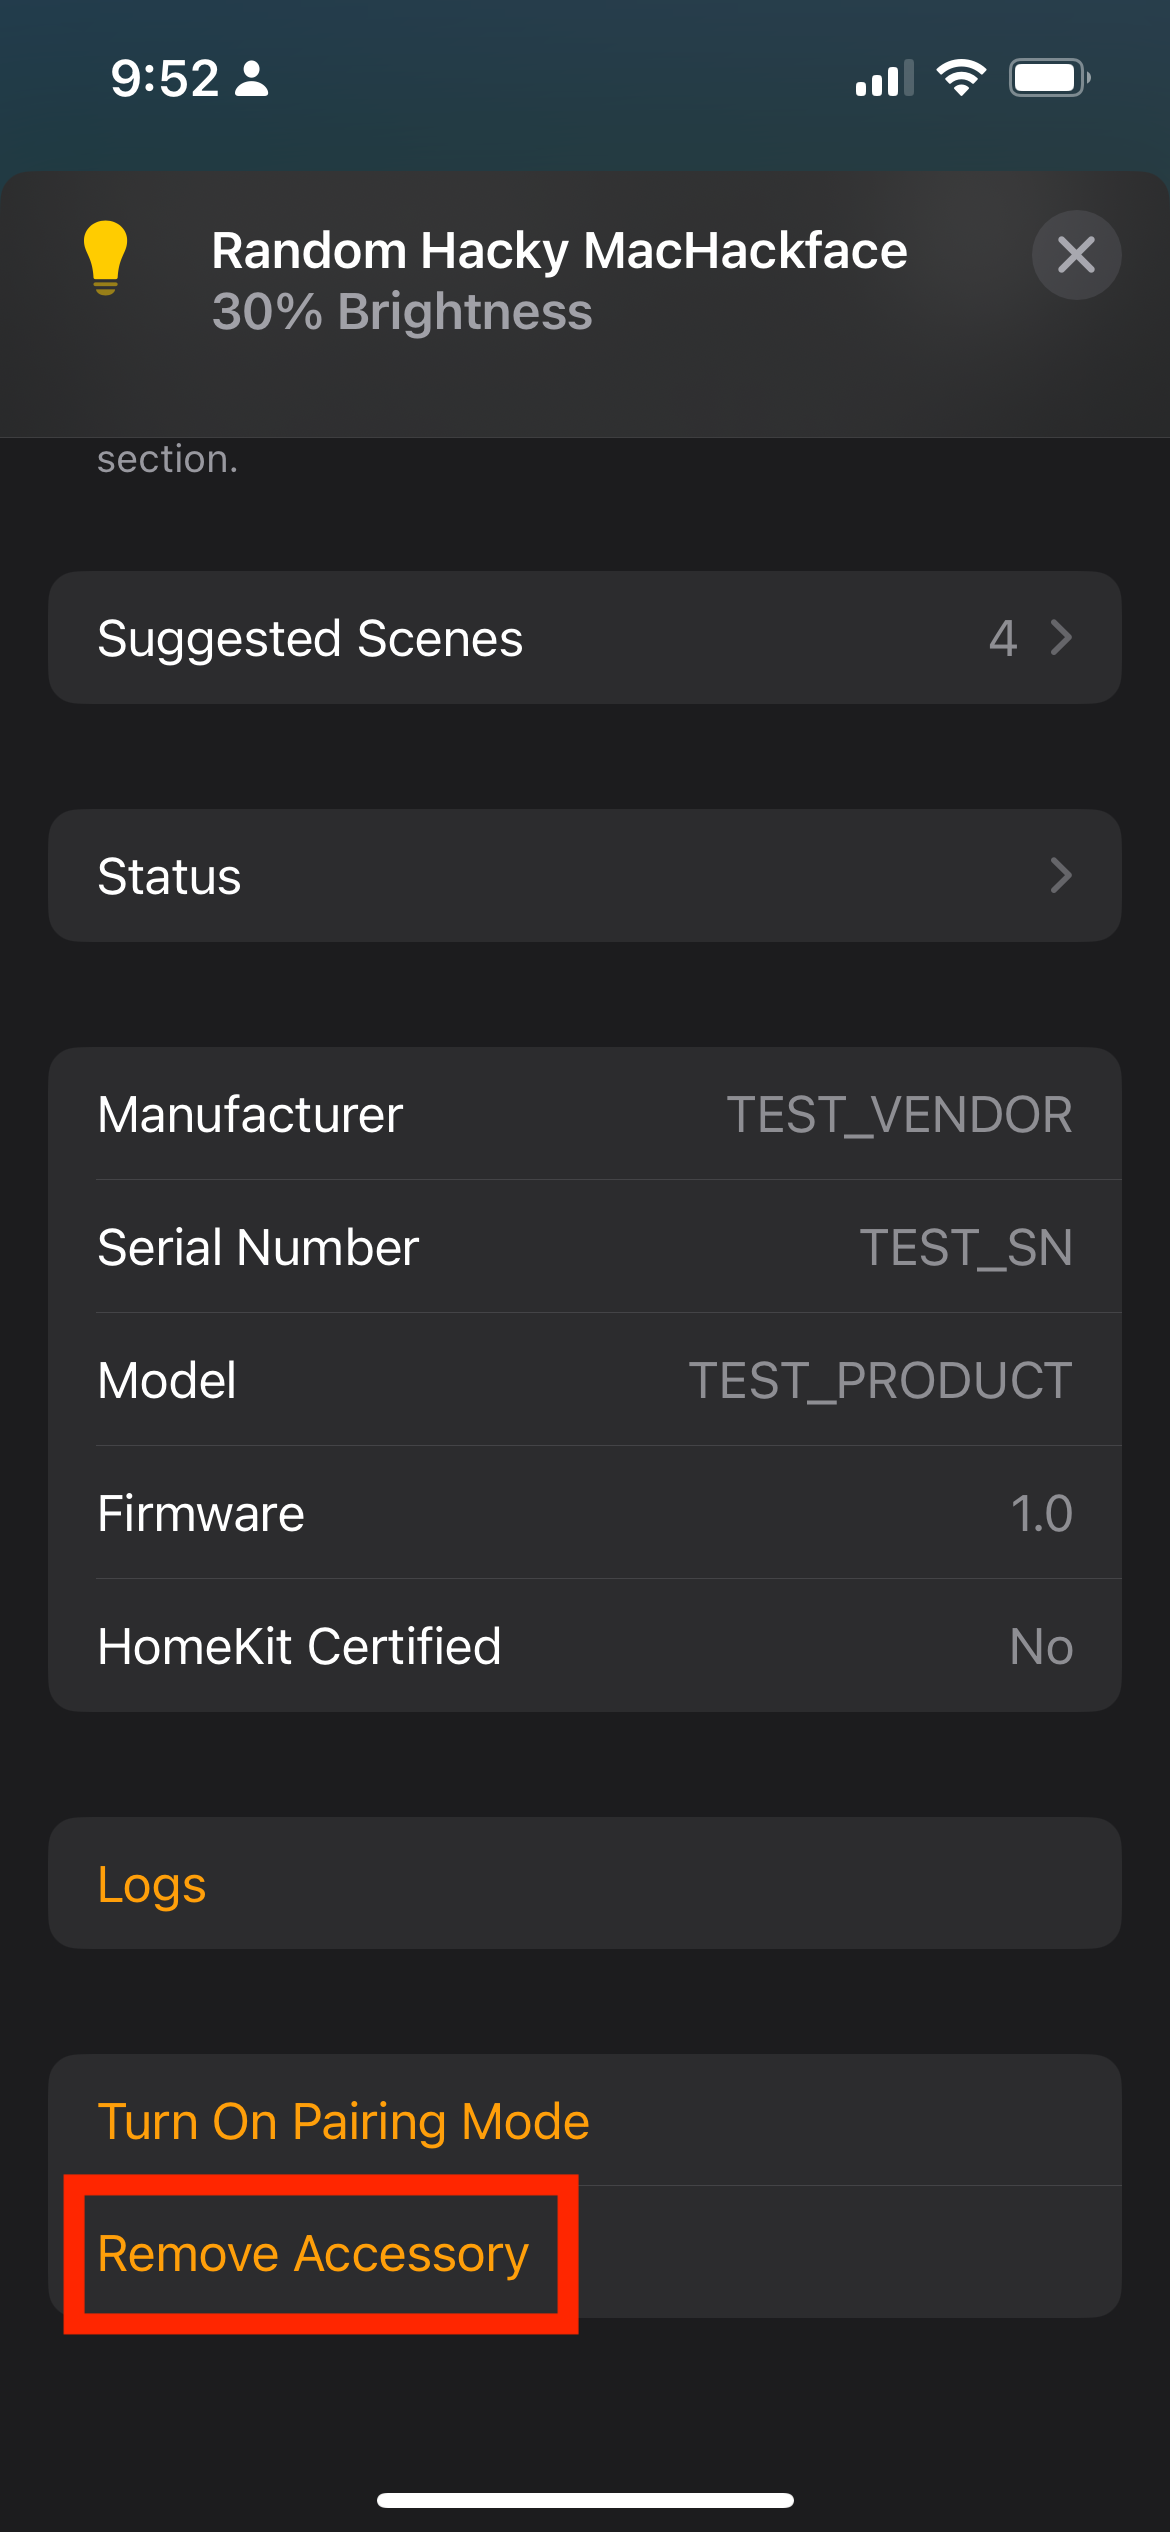
- Once you finish playing with the LED, you can unpair the device (optional). Remove the accessory from the Apple Home.
Click on the right side of the IoT device icon.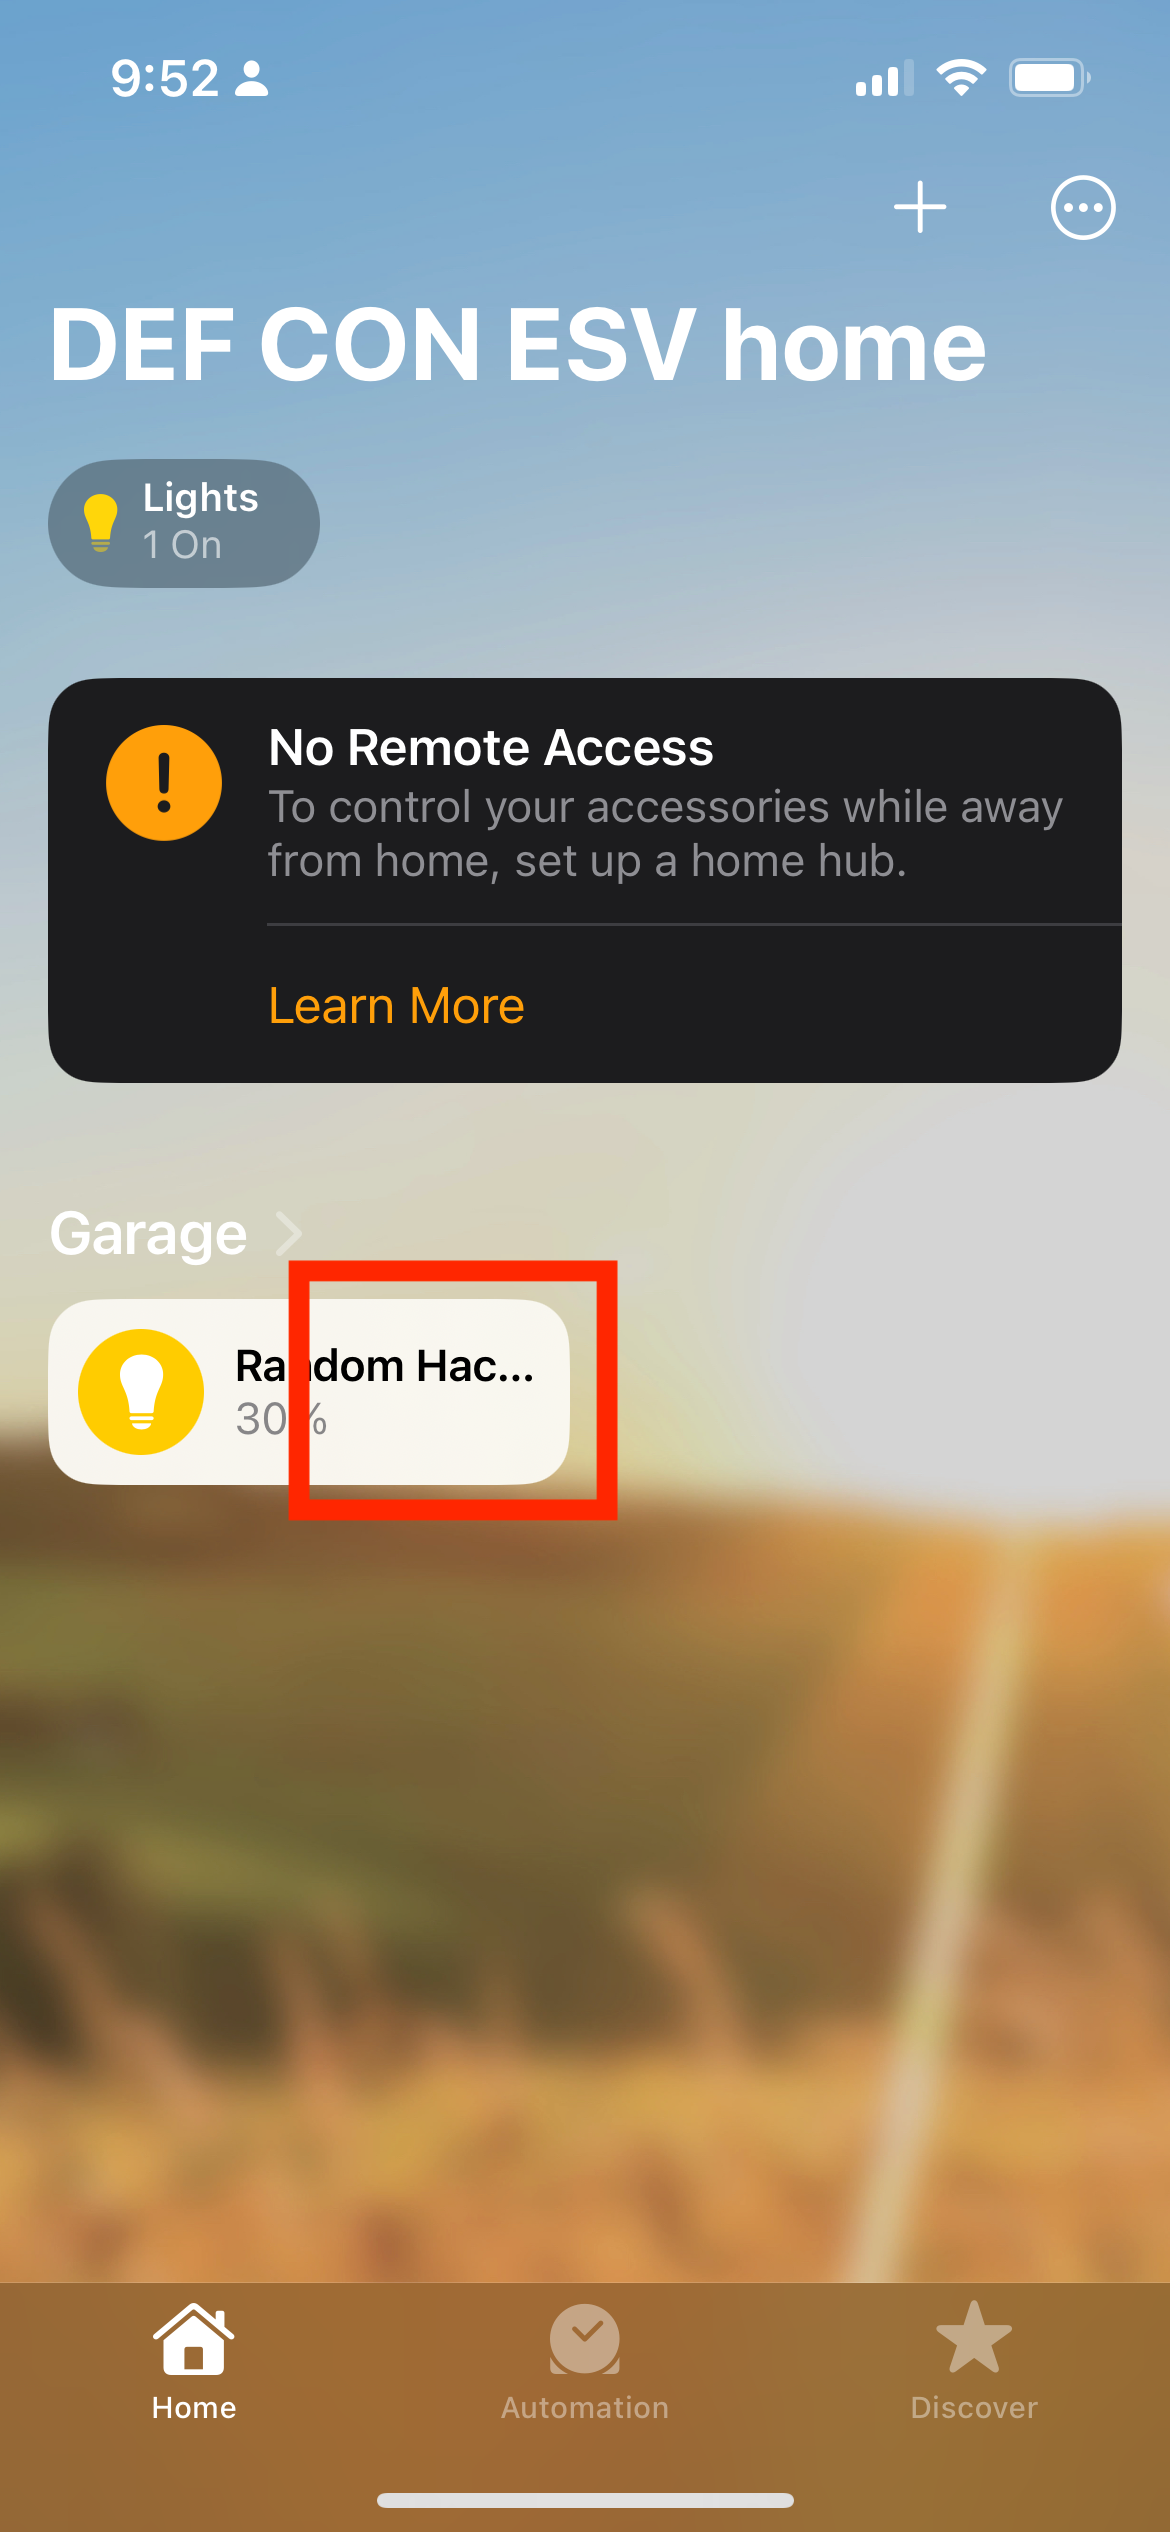
Optionally, you can also remove the key materials from Keychain. This is not necessary, but if you want to fully clean: Go to Settings -> General -> Matter Accessories -> Choose test device (Matter Accessory) -> Remove Accessory
Extra bonus points#
If you want to control the LED from the “cloud” over the Internet, we can do that as well. Start the process with the following steps, instead of creating a new home.
-
Share your Apple iCloud e-mail address with our lovely assistant so he can invite you to his Apple Home. If you are concerned about this step, I recommend reading Why E-mail? for more details.
-
Accept the Home invite share. Note: If you are running in lockdown mode, you have to invite the assistant first (lockdown mode security feature). Ask the assistant for details.
-
Continue the default setup from step 2. No need to create a new home.
Bonus points for controlling the LED from your Apple Watch :D
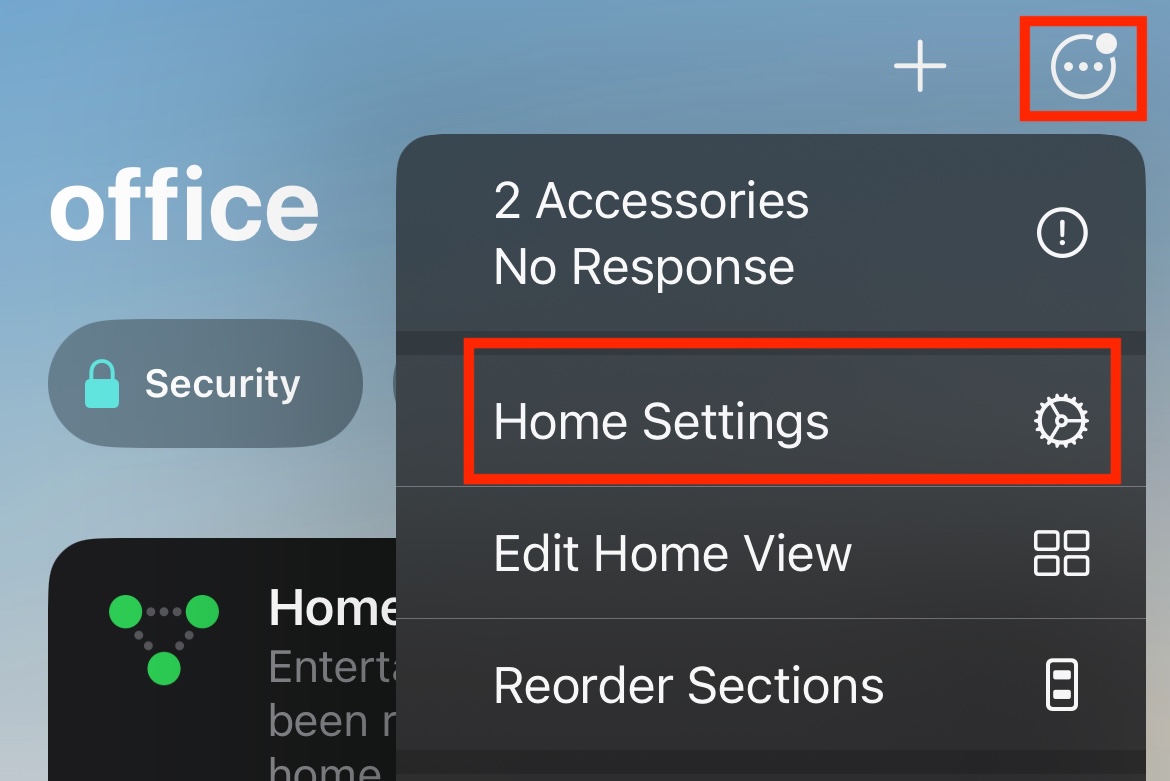
- Once you finish playing with the device, please remember to clean up. Remove the accessory from the Apple Home and leave this specific Apple Home so others can join.
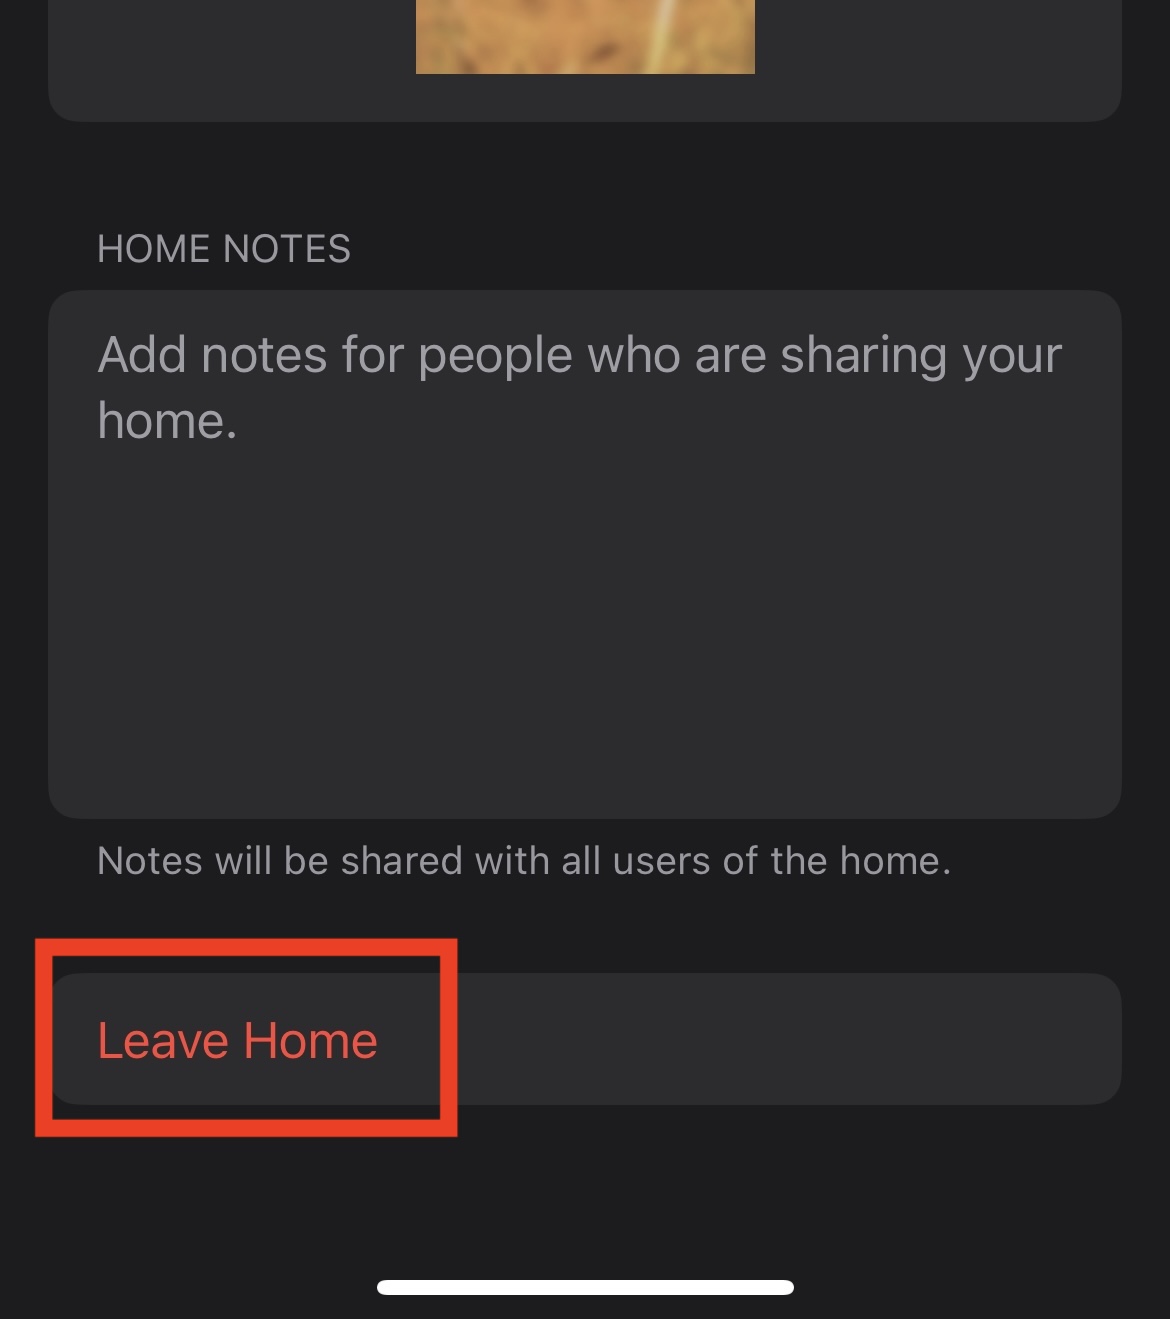
To leave the home you joined, go to Home Settings, and choose Leave Home at the bottom.
Don’t forget to fill out our feedback form